This tutorial will show you how to setup an automated email in Mailchimp to send a PDF from an opt-in.
It's so important to grow your business email subscriber list! You might have followers on your Facebook group, but FB owns them! If you have an email list, you own them and you can reach out to people directly through your list. What might you email them about? If you have a new service, offering, sale, promotion, event—you name it!—you'll want to email your subscribers who already know you. They can also forward your email on to others.
So how do you grow your email list? One way is to entice people with a Freebie. Here are some examples of what you could offer:
- Tools and resources guide
- How to guide
- Diagram, visual aid, roadmap
- Custom graphic or photo you took
- Comparison chart
Here are two ways to setup the PDF download:
Signup Form with PDF in Thank You message (quickest method).
1. Login to your Mailchimp account (if you don't have Mailchimp, a similar process would be done in other providers.)
2. Go to the File Manager and Upload your PDF. Click View Details and Copy Link.
3. Click Lists at the top and "Create List". Name your list so it applies to your download.
4. In your new list click "Signup Forms". Choose Subscriber Popup.

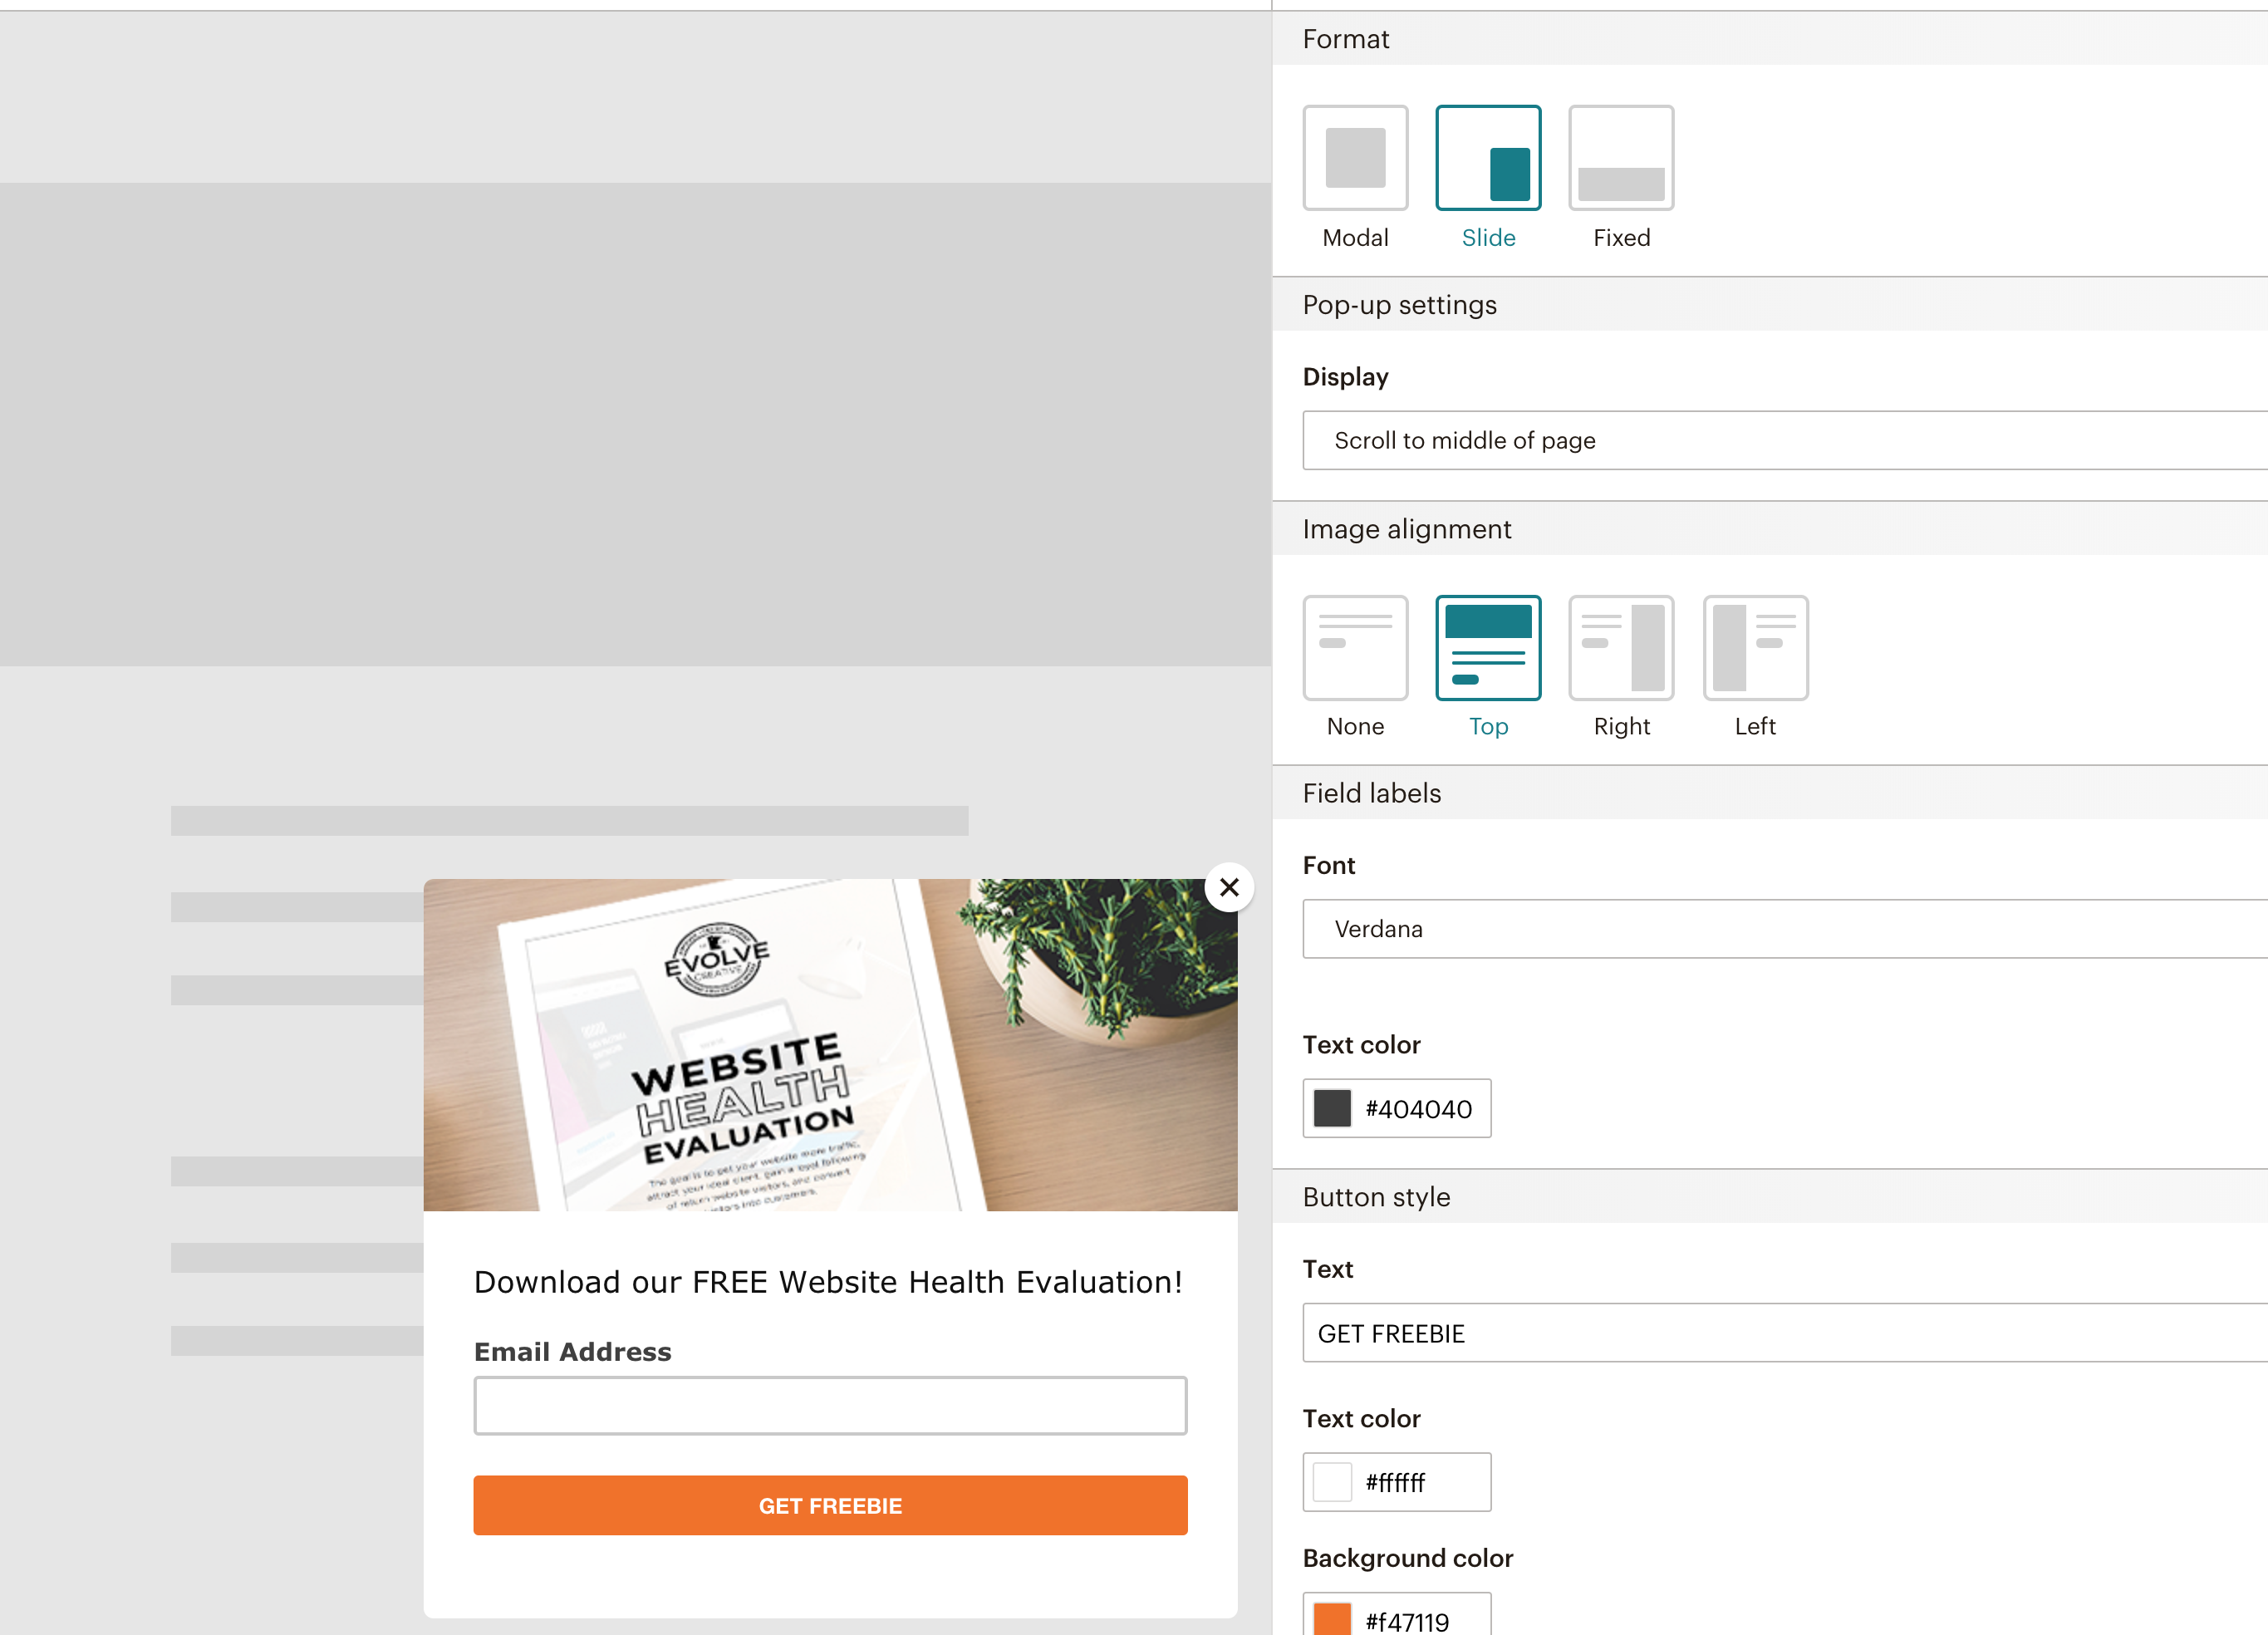
5. Choose the style you want and design the popup.
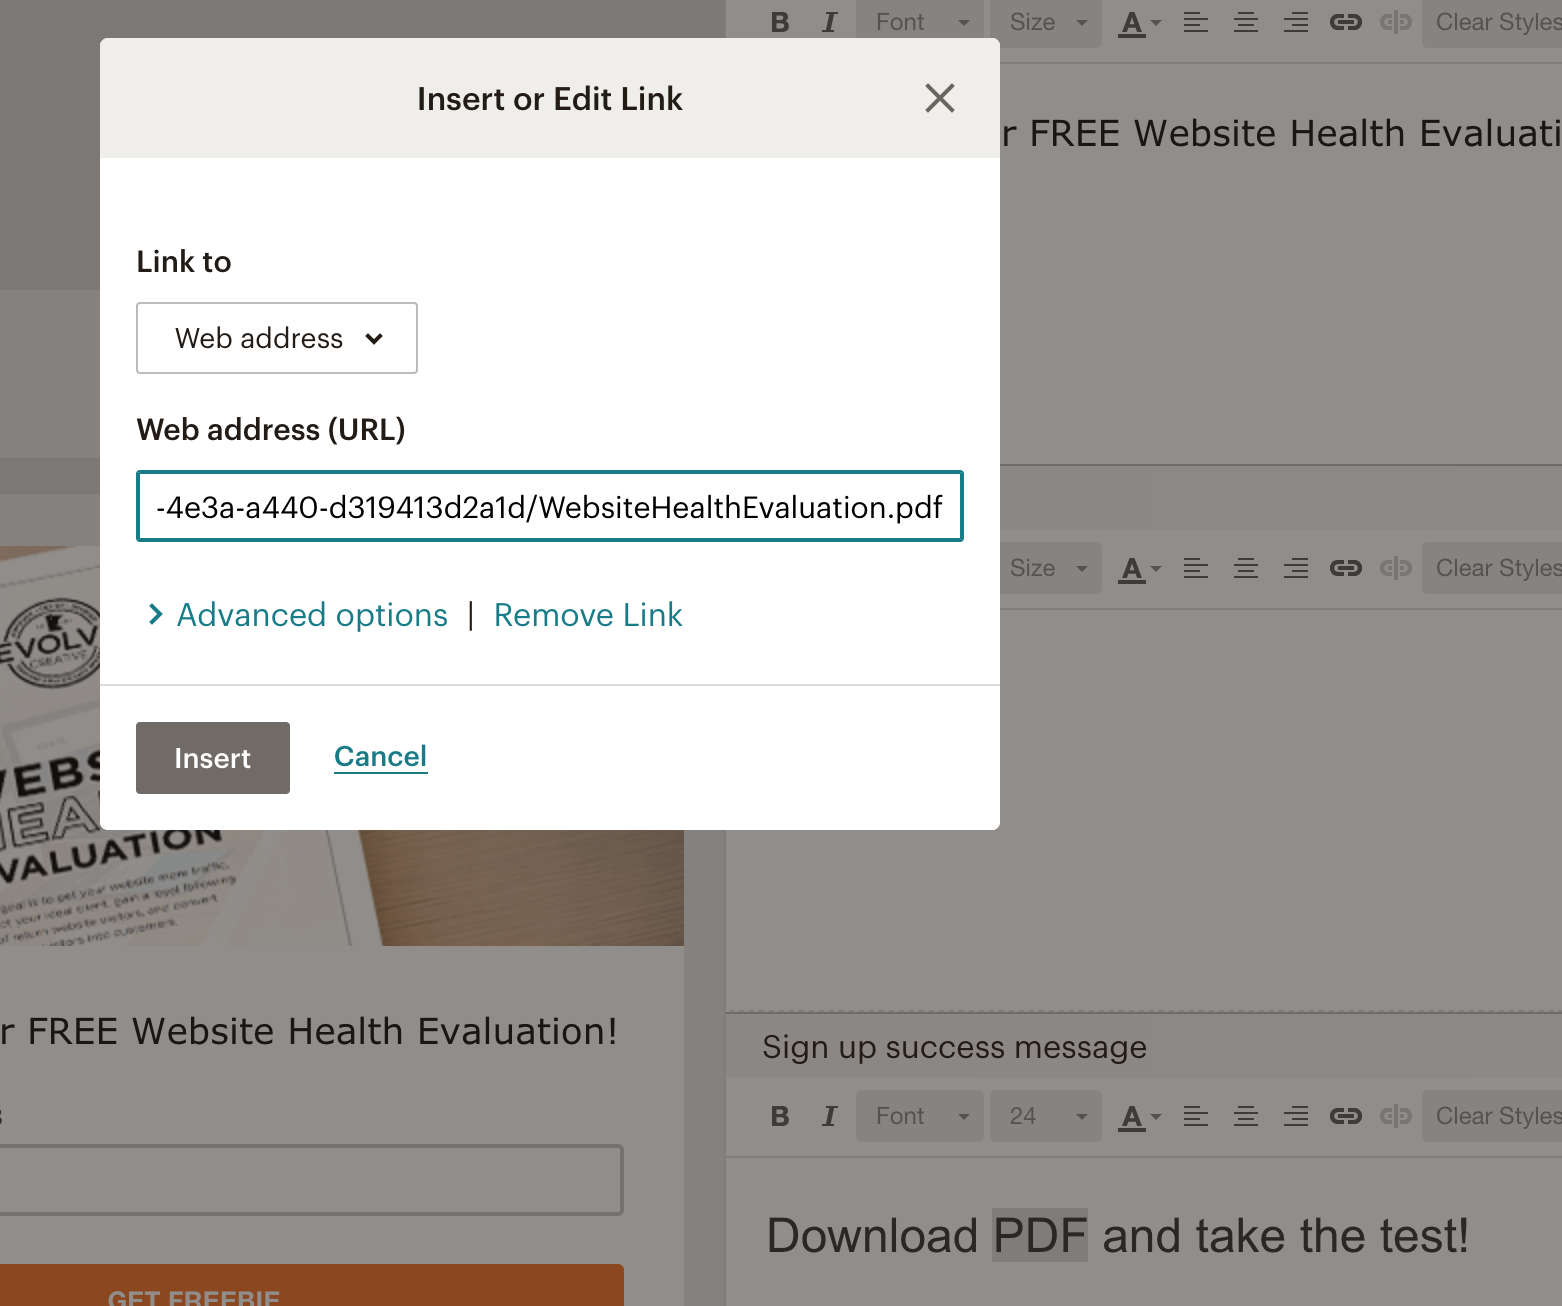
6. Click on Content and go to the Sign up success message. Add the link you "copied".
7. Click view code and then you will paste this into your website. (If you need help on this, contact us).
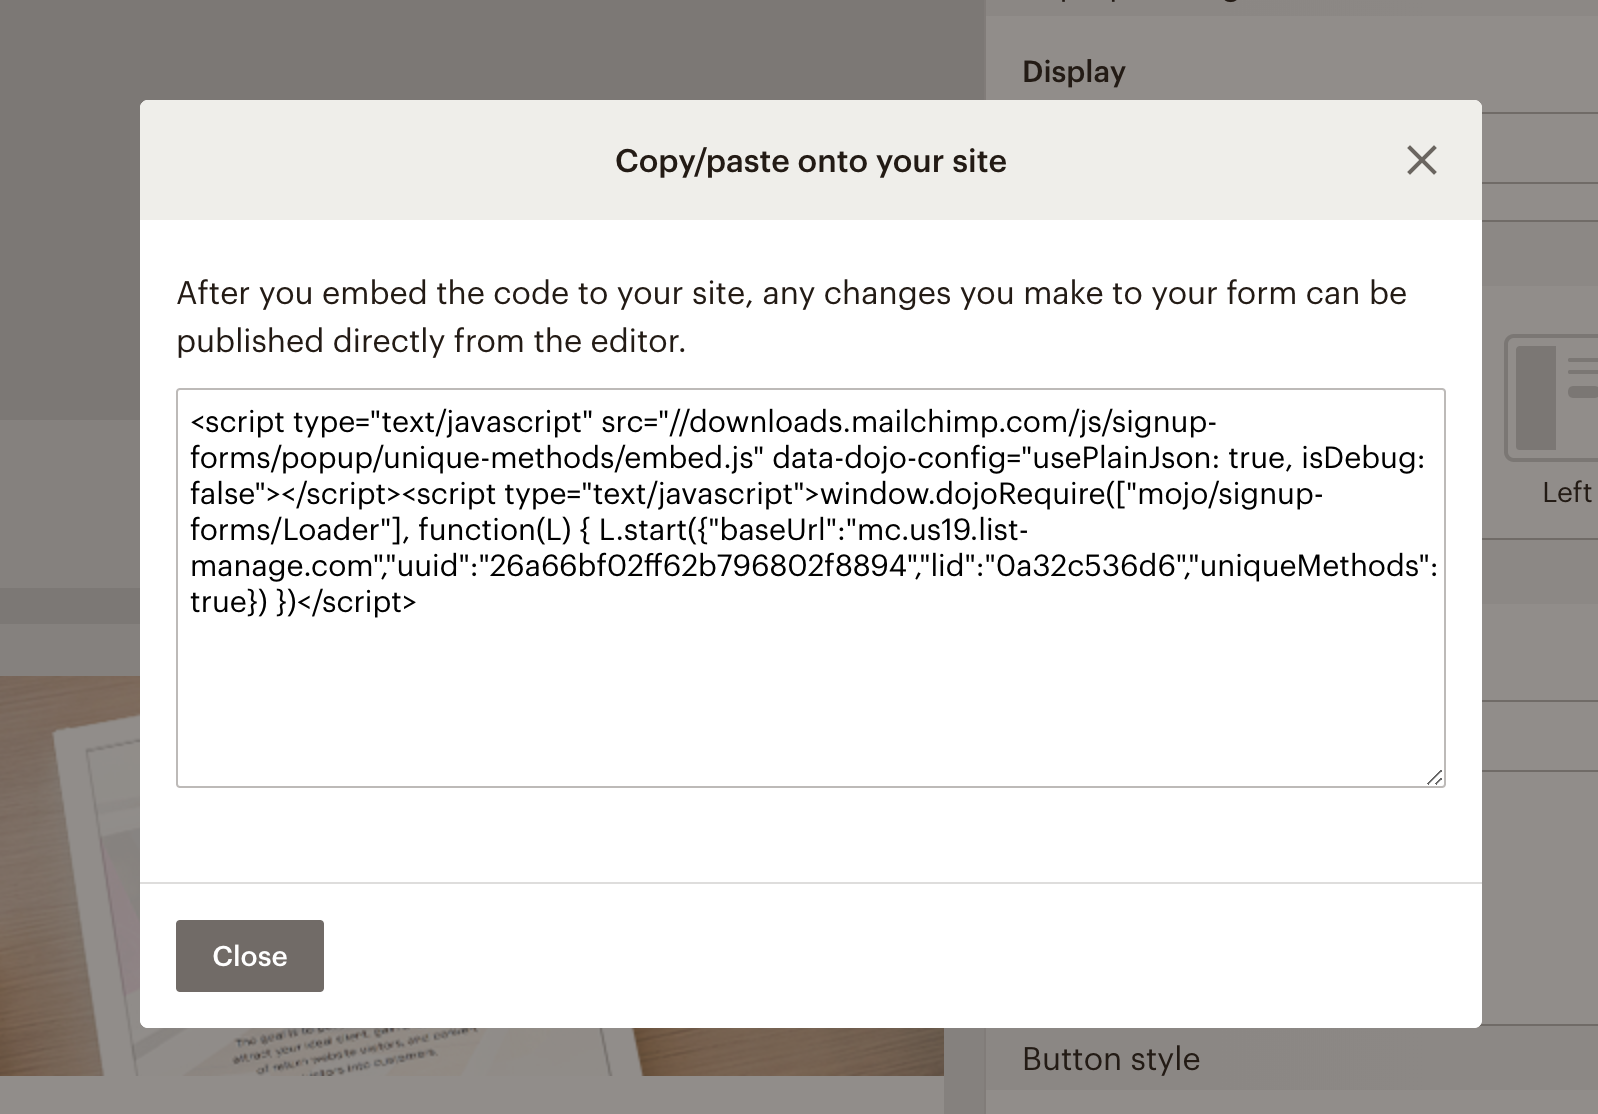
8. Click Publish.
Automation with PDF sent in Email. This is useful if you want to include more information.
1. Login to your Mailchimp account (if you don't have Mailchimp, a similar process would be done in other providers.)
2. Click Lists at the top and "Create List". Name your list so it applies to your download.
3. In your new list click "Signup Forms". Choose Subscriber Popup.

4. Choose the style you want and design the popup.

5. Click view code and then you will paste this into your website. (If you need help on this, contact us).

6. Click Publish.
7. Next go to Campaigns and click "Create Campaign"
8. Choose Email > in the popup choose Automated. And then Welcome New Subscribers.
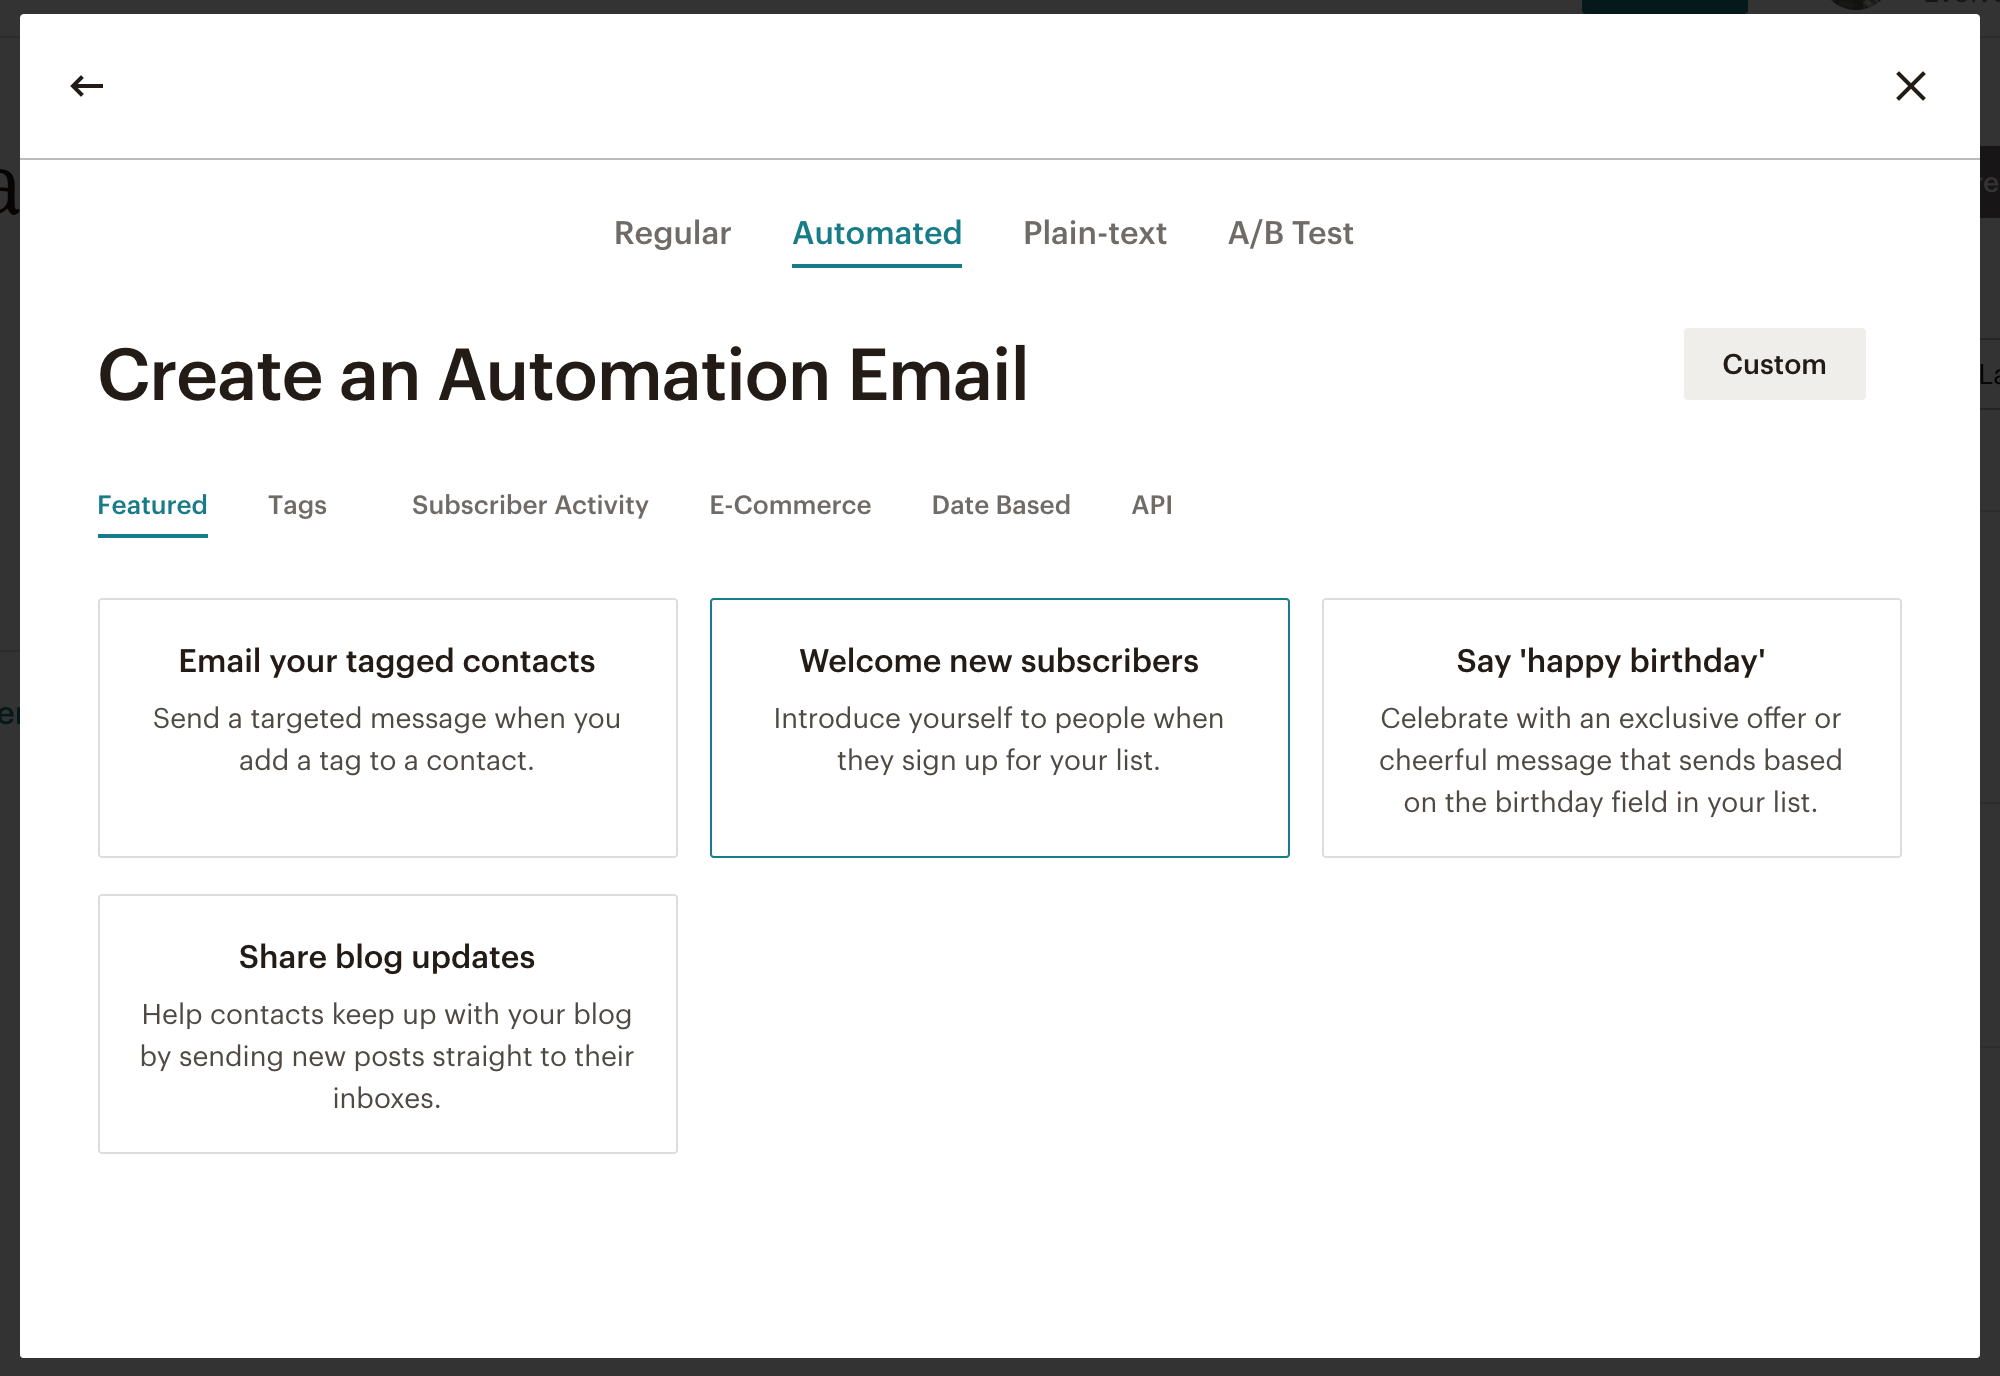
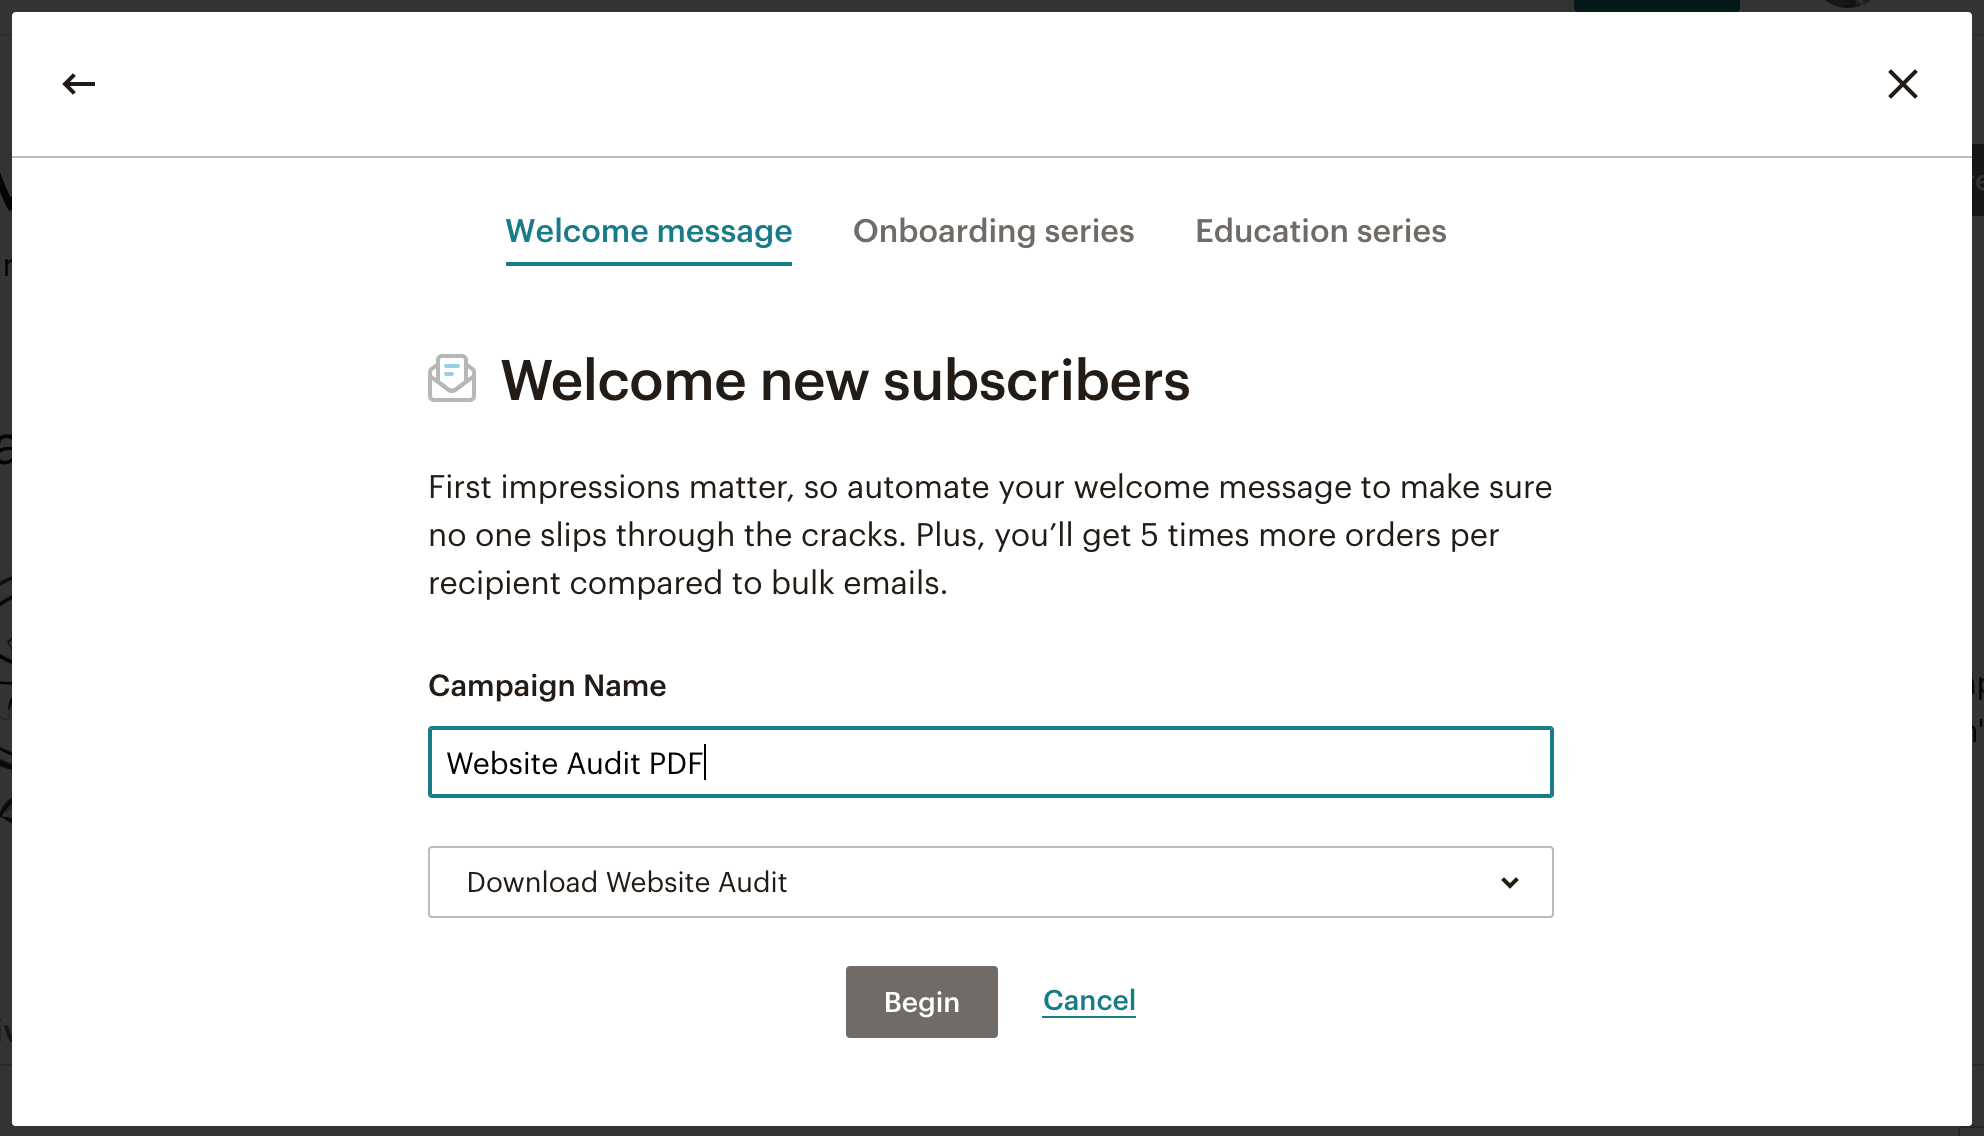
9. Name your campaign and choose the List you just created. Begin.
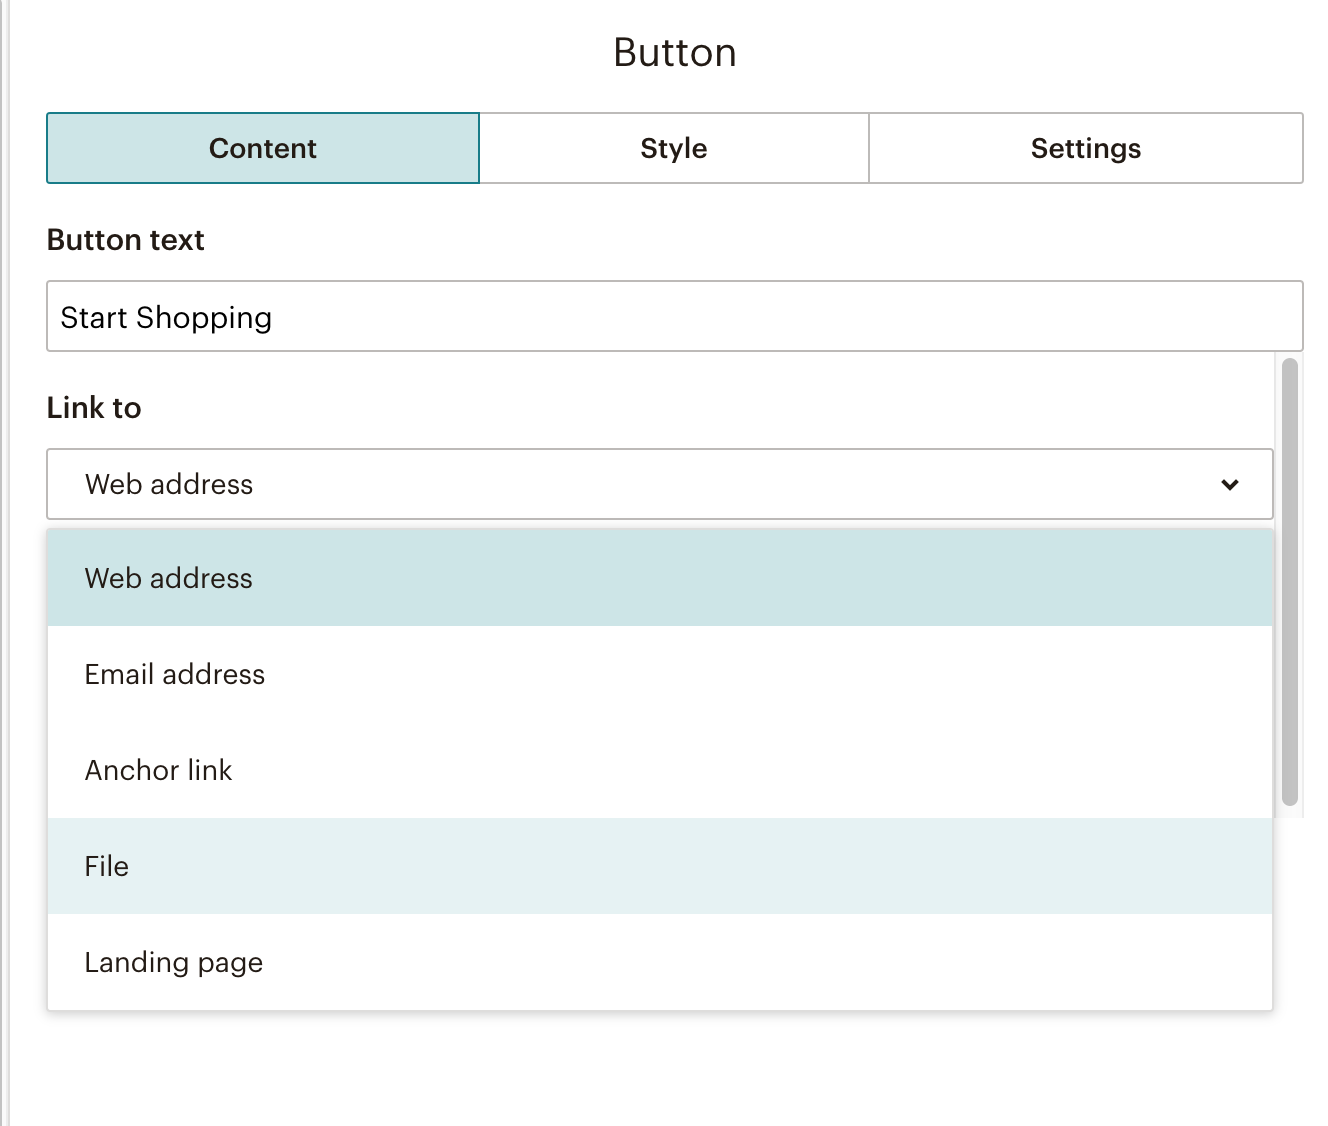
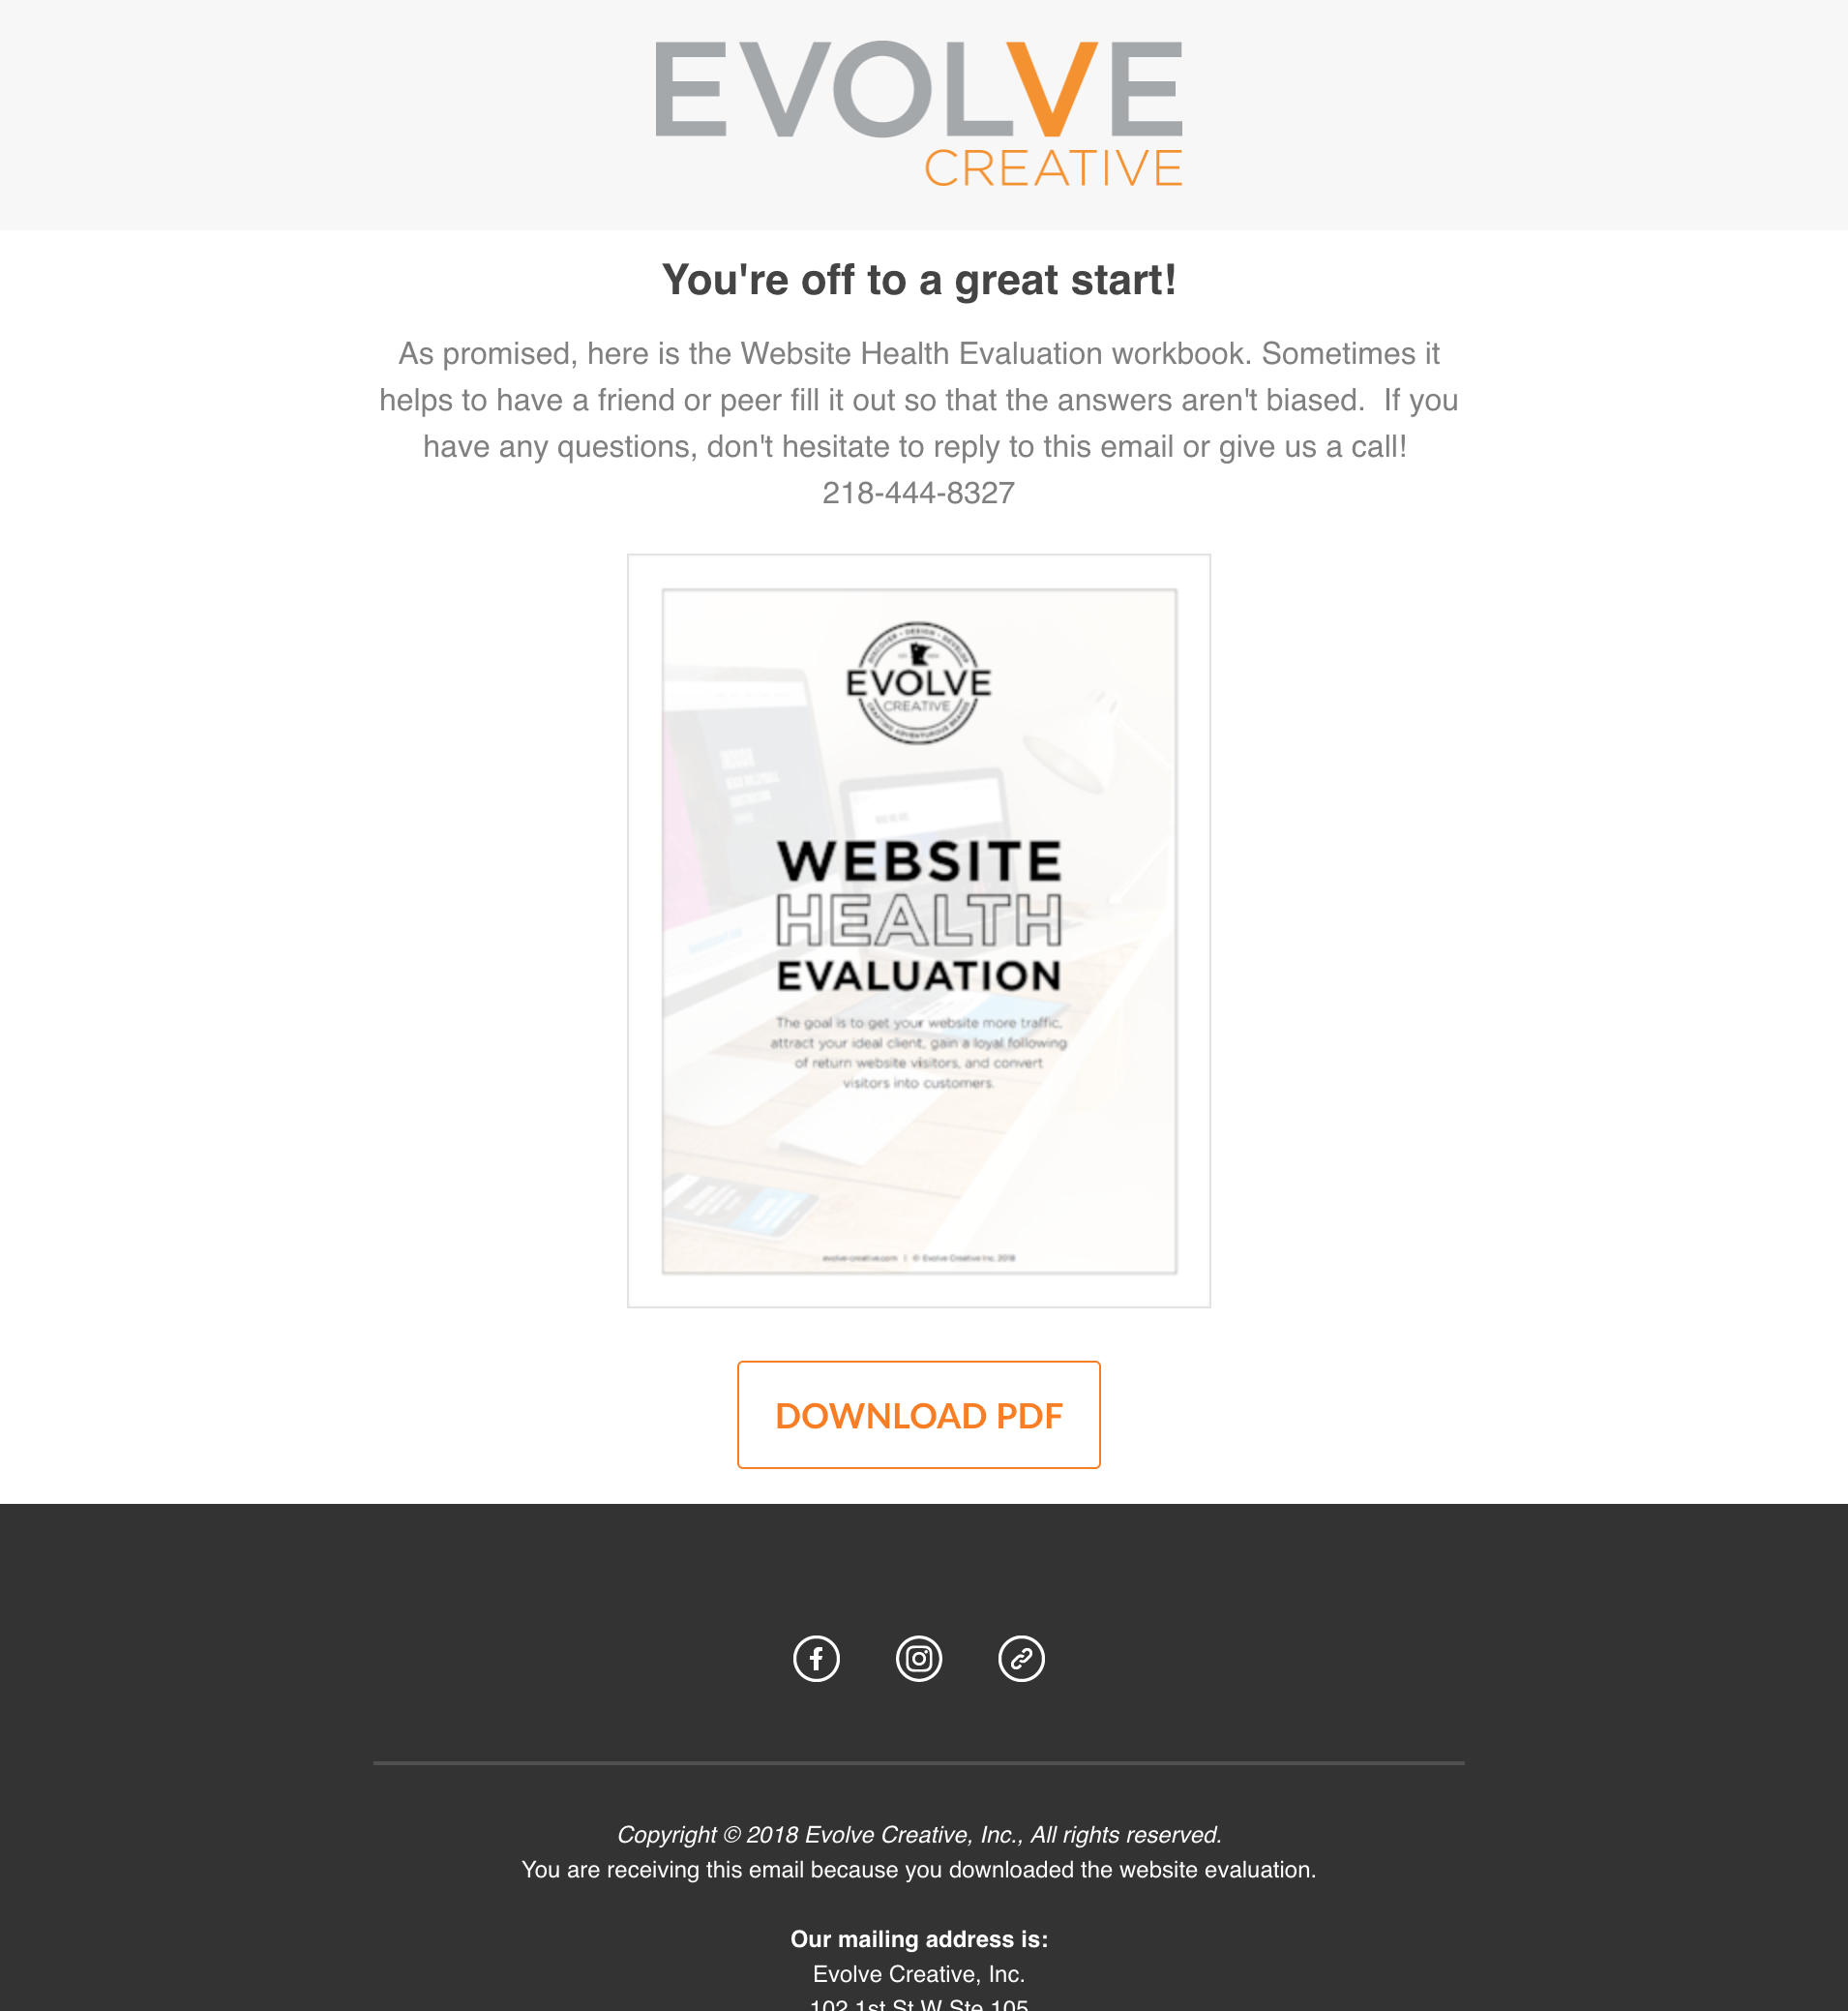
10. You will add your Triggers next. Click Design Email, fill in your Email From Name and Subject and click Next at the bottom. You will be asked to choose a layout or choose an existing campaign layout you already have. This is where you will add a button and link to a PDF. Add the Button element and change the Link to File. Upload your PDF or Link to a page that has your freebie on it.
11. After you email is designed click Save and Continue.
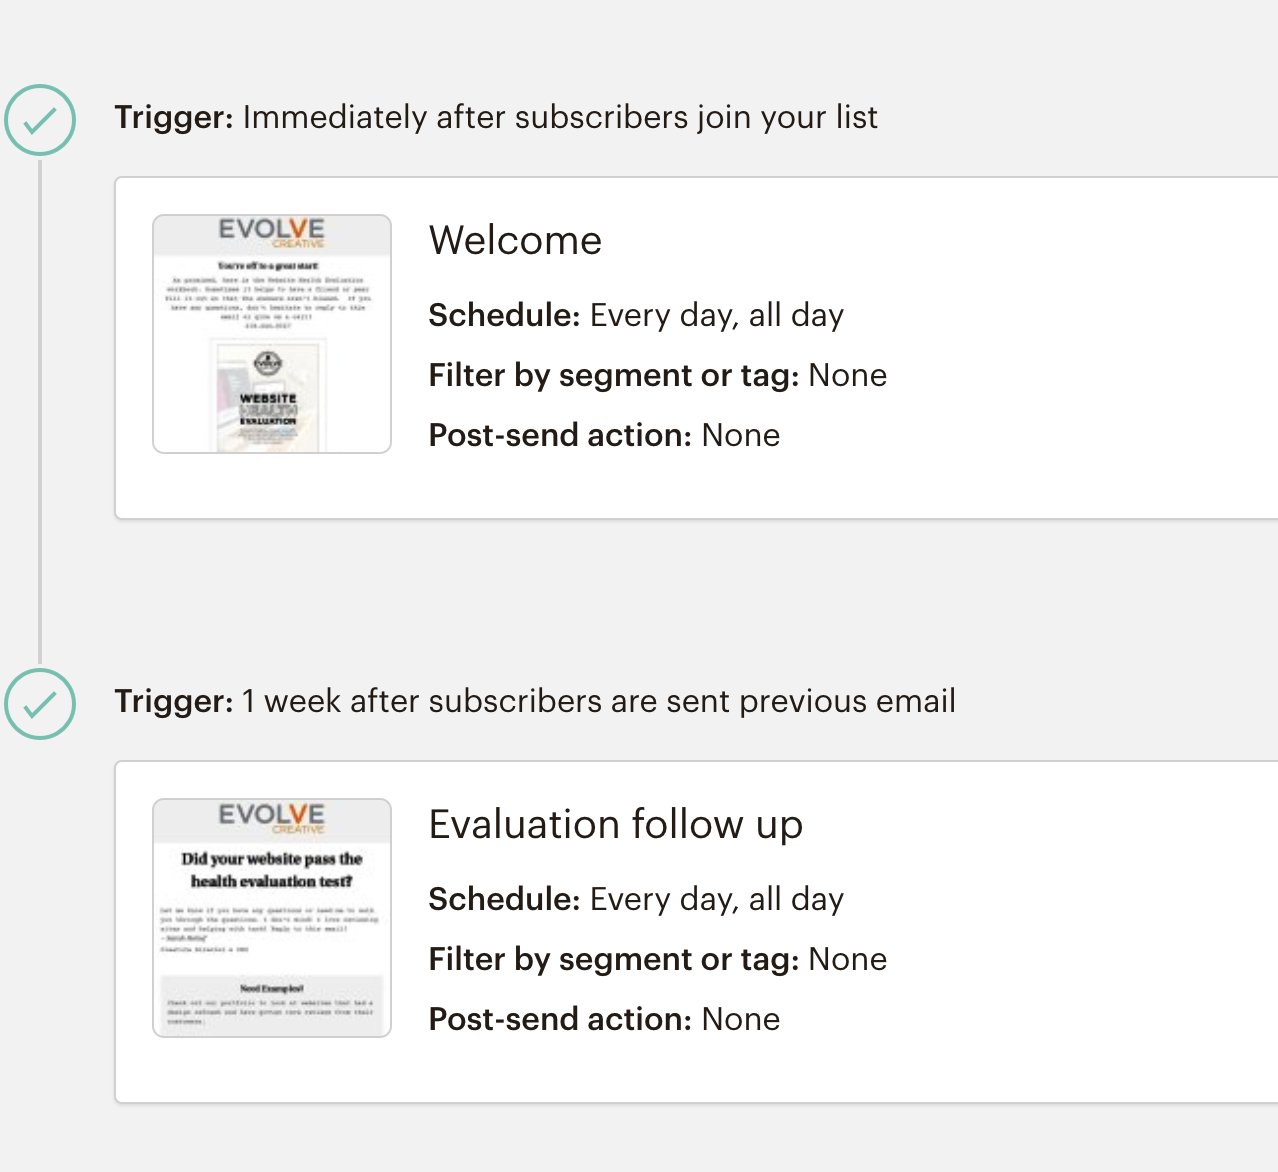
12. You can now go in and add a Follow Up email and set a time. The 2nd email trigger is a good way to follow up and check in.
This is how the Triggers will look.
